
Tested Cheap Motion
How to Test Cheap Motion Sensors for Smart Home Success
Smart‑home enthusiasts often wonder whether a low‑cost motion sensor can hold its own against pricier alternatives This tutorial walks you through a systematic testing process, helping you decide if a budget sensor meets your automation goals
You’ll learn how to set up, evaluate, and fine‑tune motion detectors, avoid common pitfalls, and apply expert‑level tips for reliable performance No deep engineering background is required—just a curiosity about making your home smarter without breaking the bank
Tested Cheap Motion: Step-by-Step Instructions
Tested Cheap Motion: Step 1: Define Your Use‑Case and Success Criteria
Clarify what you expect the sensor to do. Typical criteria include:
- Detection range (e.g., 5‑10 m)
- Response time (seconds from motion to trigger)
- False‑positive tolerance (how often it reacts to pets, sunlight, etc.)
- Power source compatibility (battery, USB, mains)
- Smartphone with a Wi‑Fi scanner app
- Tape measure or laser distance meter
- Notebook or digital spreadsheet for logging results
- Power source (fresh AA batteries or a USB charger)
- Pass a pet (or a moving object on a string) within the detection zone.
- Flash a flashlight or direct sunlight into the sensor.
- Turn on a nearby TV or computer screen.
- Measure battery voltage after 24 hours of continuous operation.
- Check the sensor’s connection stability in the app (signal strength, drop‑outs).
- Document any firmware updates or reset procedures required.
- Problem: Sensor triggers randomly when no motion is present.
Solution: Lower the sensitivity setting, reposition away from heat sources, and enable “pet immunity” if the device offers it. - Problem: Wi‑Fi‑connected sensors lose connection after a firmware update.
Solution: Re‑pair the device, ensure your router’s 2.4 GHz band is not overloaded, and consider assigning a static IP address. - Problem: Battery drains faster than advertised.
Solution: Verify that the sensor isn’t stuck in a “continuous detection” mode—reset it and recalibrate the motion window. - Problem: Sensor fails to detect motion at the edge of its advertised range.
Solution: Install a reflective surface (white poster board) to improve infrared reflection, or add a second sensor to cover blind spots.
Step 2: Gather a Small Test Kit
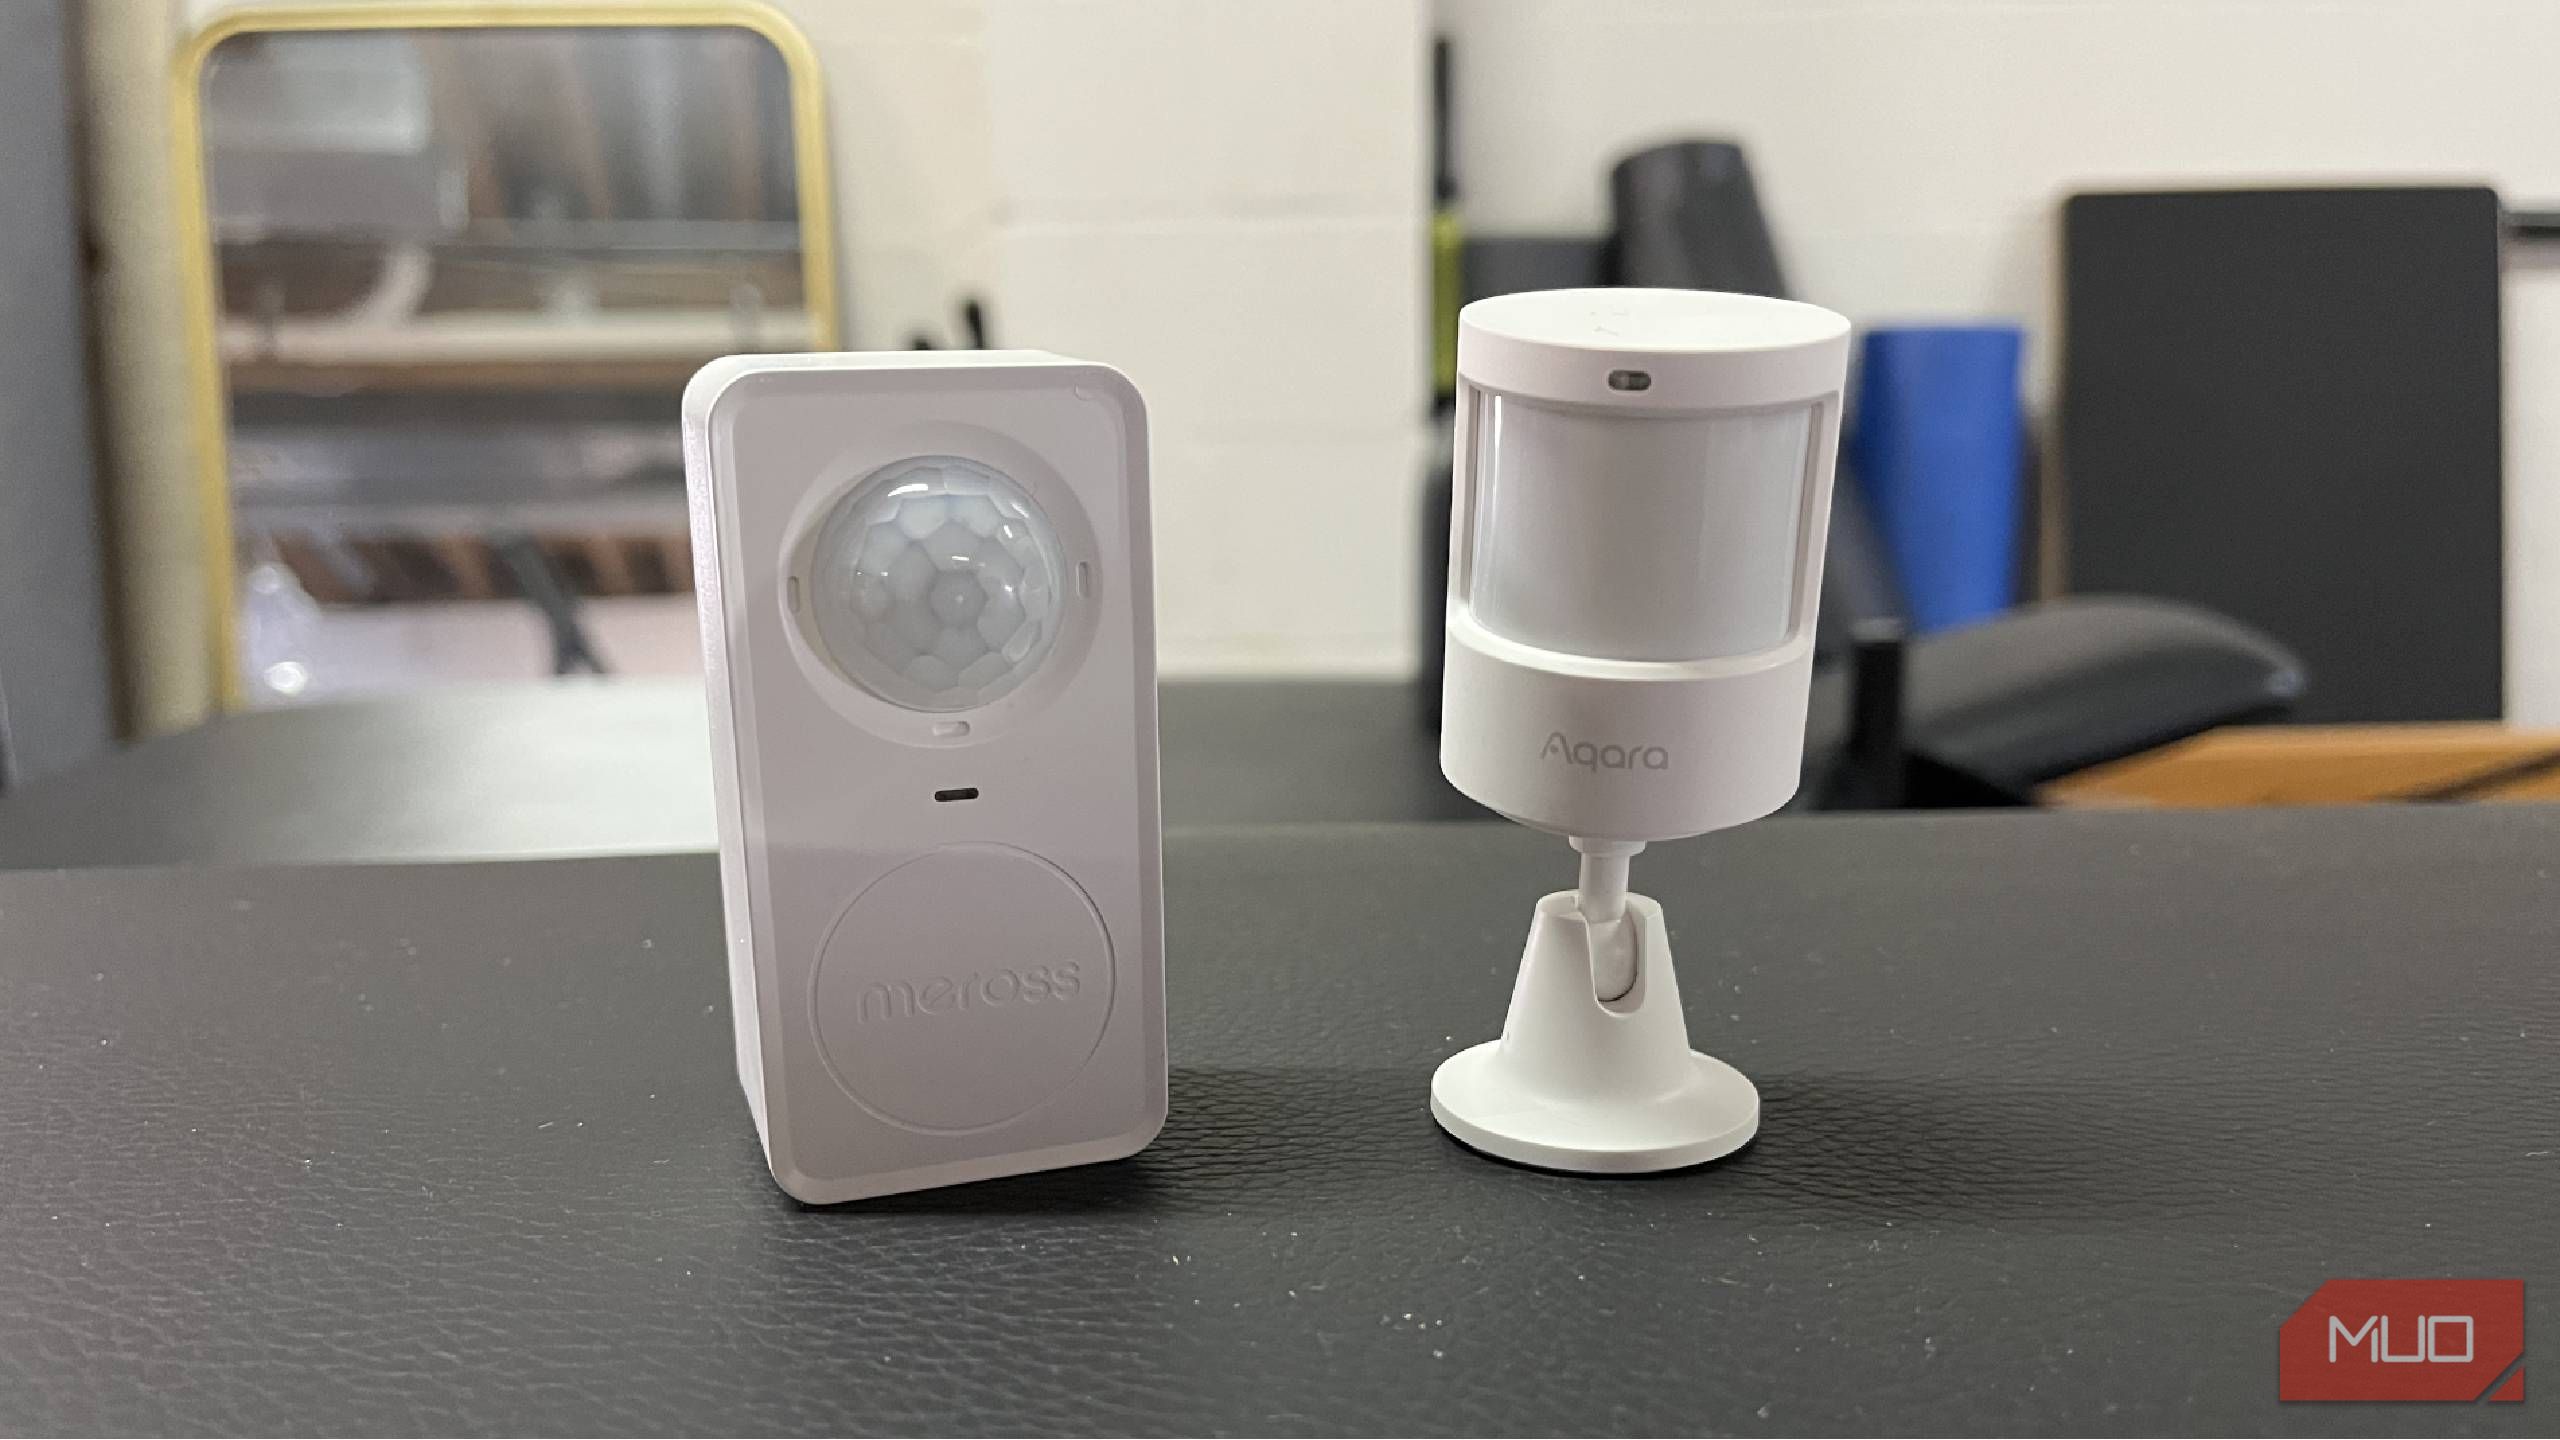
Select 2‑3 inexpensive sensors (often marketed as “budget” or “entry‑level”) and, if possible, one mid‑range reference model. Keep the following items handy:
Step 3: Install Sensors in a Controlled Environment Mount each sensor at the same height (typically 2 m from the floor) on a wall or ceiling bracket
Ensure the mounting surface is free of reflective surfaces that could skew infrared readings Connect the sensor to your hub or app according to the manufacturer’s guide
Step 4: Conduct Range and Sensitivity Tests Stand at the sensor’s advertised maximum distance and walk across its field of view Record whether the sensor registers motion and how quickly the associated automation (e
g, light turn‑on) occurs Repeat at 25 % increments (75 %, 50 %, 25 %) to map the effective coverage Adjust the sensor’s sensitivity setting (if available) and repeat the walk‑through to see the impact
Step 5: Evaluate False‑Positive Resistance
Simulate common sources of interference:
Note any unintended triggers and the sensor’s ability to ignore them.
Step 6: Log Power Consumption and Reliability
Troubleshooting
Even the best‑tested sensors can encounter hiccups. Below are frequent problems and proven fixes.
Pro Tips Combine Sensors for Redundancy: Pair a cheap PIR sensor with a microwave radar unit for environments with pets or variable lighting Use Z‑Wave or Zigbee Bridges: These protocols often provide more stable connections than Wi‑Fi for low‑power devices
Schedule Calibration: Run a quick “self‑test” routine each month to catch drift in sensitivity before it impacts automation Avoid Direct Sunlight: Even premium sensors can be blinded; position them away from windows or use a small shade
Document Firmware Versions: When comparing performance, note the exact firmware—updates can dramatically change behavior
Next Steps
You’ve now built a repeatable testing framework, identified the strengths and weaknesses of budget motion sensors, and equipped yourself with troubleshooting tactics
Use the data you collected to decide whether a cheap sensor meets your automation needs or if a premium upgrade is justified Next, explore integrating your chosen sensor with voice assistants, creating multi‑sensor scenes, or expanding to outdoor security zones
Ready to put your new knowledge into action? Start by selecting a sensor from the list below and run the test suite today!
Source: Based on “I tested cheap motion sensors against premium ones, and the results surprised me”